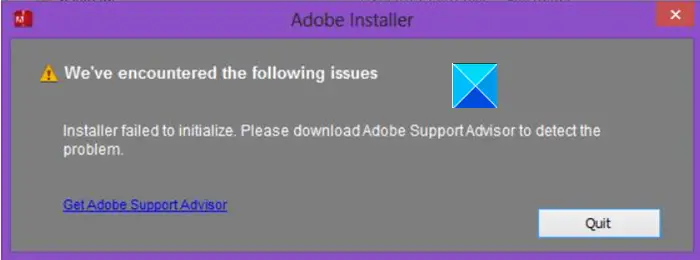
Adobe Installer failed to initialize
The error can occur due to some missing files. So, fixing it should resolve the issue. While trying to troubleshoot the issue, make sure to end all adobe background processes). Let’s explore the above two methods in a bit of detail!
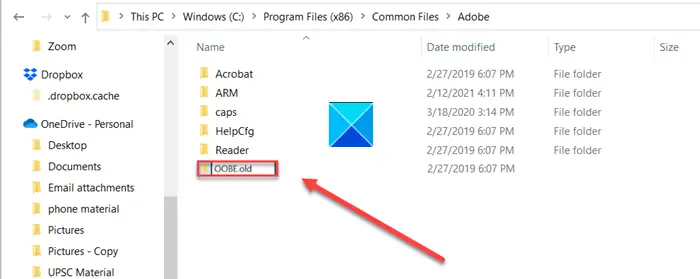
1] Rename OOBE Folder to OOBE.old
On your computer (64-Bit), navigate to the following path address – Program Files x86\Common Files\Adobe\OOBE. Right-click the OOBE folder and select Rename option.
Rename the folder to something like OOBE.old. If prompted, click Yes to proceed. Now, run the Adobe Creative Cloud installer setup file again and check if the error is resolved.
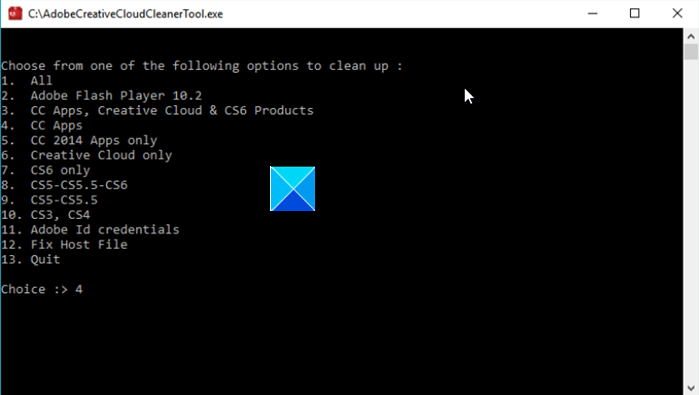
2] Using Adobe Creative Cloud Cleaner Tool
Adobe Creative Cloud Cleaner Tool is a utility for experienced users and used to clean up corrupted installations and resolves permission issues in registry keys. It is advisable to create necessary backups for your files and folders before running the tool to avoid potential data loss. Download and install the program on your PC and run it as an administrator. If the Run as Administrator option is not available when you right-click, double-click AdobeCreativeCloudCleanerTool.exe to run the file.
Enter the number corresponding to the option you wish to choose, and then press Enter. For example, type 4 (CC Apps) for kickstarting the Creative Cloud app uninstallation process. Confirm your action by typing Y and then hit the Enter key. When the message “Adobe Creative Cloud Cleaner Tool completed successfully,” message appears, press Enter and restart your computer. Now, install your Creative Cloud application. That’s all there is to it! TIP: This post will help you if Adobe Reader is not working.