Today in this article, we’re going to talk about the visual performance optimization of Windows 11/10/8.
Disable visual effects in Windows 11/10
To optimize Windows 11/10 Performance by tweaking Visual Effects:
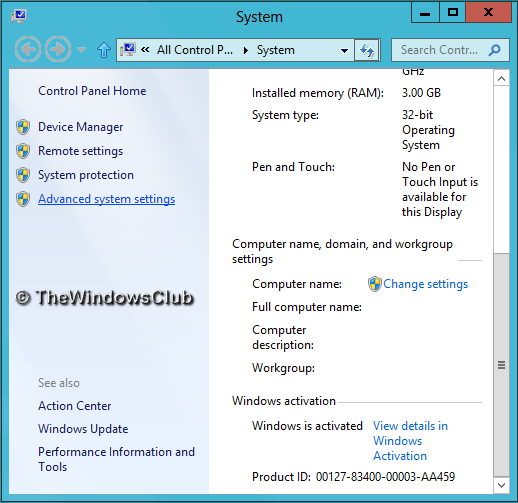
Open the Control Panel and locate the System settings.In the System window, in the left pane, click on Advanced system settings.In the System Properties window, pick Settings for Performance.In the Performance Options window, you will see 3 options:Let Windows choose what’s best for my computerAdjust for best appearanceAdjust for best performance.
Selecting Adjust for best performance may make your Windows perform slightly better, but you will have to sacrifice on the visual effect – and that maybe something you may not want to do. TIP: You can also open the Performance Options window by searching for “appearance and performance“.
Here are the settings I prefer to uncheck. Feel free to change them and make them suit your needs.
I prefer to remove checkmarks from the following options:
Fade out menu items after clickingEnable transparent glass (you will lose the cool Aero look though)Animations in the taskbarFade or slide menus into viewFade or slide Tool Tips into viewAnimate windows when minimizing and maximizingShow shadows under windows
Finally, click Apply and then OK. Now you could access to Desktop, if you like using Windows + D key combination. You’ll now see that performance of your Windows 11/10 may have increased marginally.
You also have another way and that is as follows:
Open Control Panel > Ease of Access > Make the computer easier to see. Here you will see a Turn off all unnecessary animations (when possible) setting. Check the box and click Apply. See this post if you frequently receive 100% Disk Usage message.