In this guide, we will show two easy ways to enable the new Start menu on Windows 10 version 2004. But before make sure you have installed Build 19041.423 on your Windows 10 PC. You can get the respective build number by downloading and installing a preview patch KB4568831 from Microsoft Update Catalog.
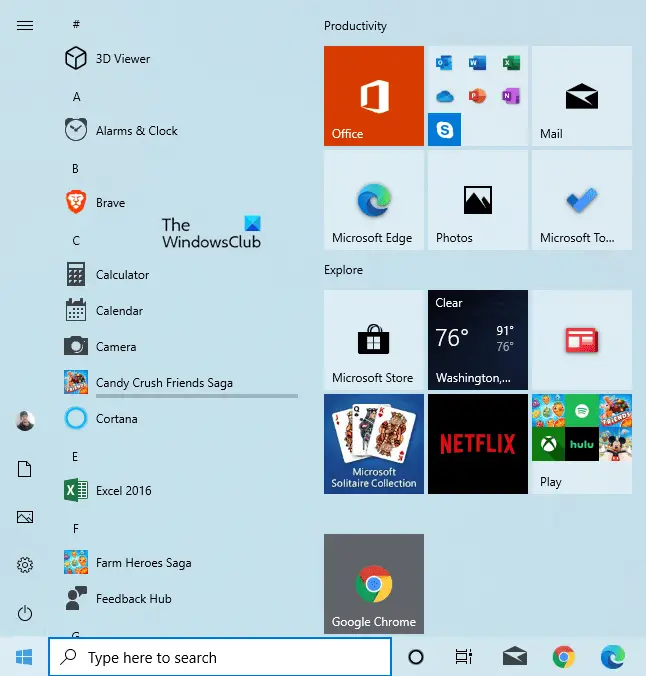
Enable new Start Menu on Windows 10 v2004
To enable the new Windows 10 Start menu using Registry Editor, follow the below instructions. But before you begin, create a system restore point first. Before you start the procedure, make sure the OS version of your Windows raises to Build 19042.423 or higher. In case you have the earlier version of the operating system, get it by navigating to Settings > Windows Update. On moving to the right pane, click Check for updates > View optional updates link, and then install the build. Now open the Run dialog box using Win+R keyboard shortcut. In the text field, type regedit and hit enter. If you’re prompted by User Account Control, click Yes to provide the grant privileges. In the Registry Editor window, go to the following path:
In the left panel, right-click on the Overrides folder and select New > Key. Name the new key as 0 and then hit Enter to save it. Now right-click on the folder named 0 and select New > Key. Name the new key as 2093230218 and hit Enter to save it. Next, right-click on the 2093230218 folder and select New > DWORD (32-bit) Value. In the right pane, name the new key EnabledState and hit Enter. Finally, double click on the EnabledState key to modify it. In the popup menu, set the value data 2 and then click the OK button. Again right-click on the 2093230218 folder and select New > DWORD (32-bit) Value. Name the new key as EnabledStateOptions and hit enter to save it. Next, set the Value data 0 like it is already there, and click OK to save it. Finally, restart your computer to apply the changes. After the system reboots, you should now have the new Start menu design with tiles. In case there are no such changes in the Start menu, again restart your device or repeat the registry hack. You may also save the following code in a Notepad and then use it to add the values to your Registry.
Press Win+Q and type Notepad in the text field. Select the result from the search result to open it. In the Notepad window, copy and paste the following syntax: Click File > Save as and then save the text file with the .reg file extension, such as Start Menu.reg. Now run this file by double-click on it. Restart your computer to apply the changes.
Restore Windows 10 to existing Start Menu
If you ever would need to get back the changes you made, open the registry editor and navigate to the following path. Now in the left pane, right-click on the 0 folder and select the Delete option. Then click on Yes to delete the key and all of its subkeys. Let us know if you can get it working.