It is essential to note that using other browsers like Chrome or Opera doesn’t cause this error. Moreover, the error only pops up when the user attempts to print out PDF files. The occurrence of the error interferes with the printing process. As a result, it doesn’t get printed.
What Causes Error 0X8007007e on Windows?
Various reasons can lead to the occurrence of the error 0X8007007e on Windows. The primary cause is an incompatibility between the Windows operating system and the printer device driver. For instance, this error could occur if the operating system is not up-to-date while the printer driver is. Similarly, updating Windows without doing the same for the printer driver can cause this problem. The 0X8007007e error can also occur on Windows when attempting to connect it to a remote printer. Different DLL versions lead to the display of this error on the computer screen. If your computer has a 64-bit environment, but the printer runs on a 32-bit one, error 0X8007007e can happen. Apart from these, other factors can cause the Printer Configuration Problem 0x80070077 on Windows. These include corrupt system files, damaged printer drivers, viruses, and missing PrintConfig.dll files.
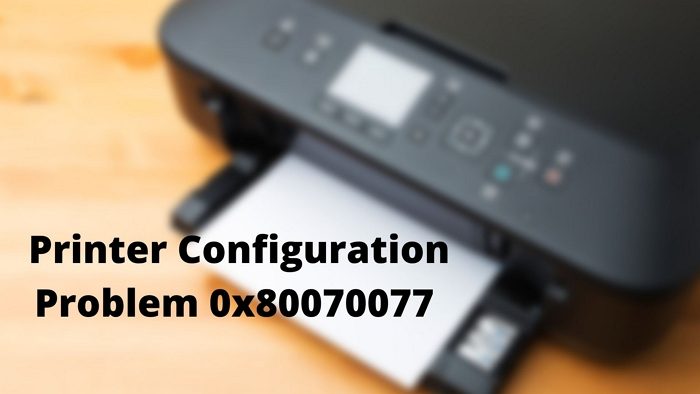
Fix Printer Configuration problem 0x80070077 on Windows 11/10
There are different solutions you can apply to resolve the problem. Make sure to check if it’s resolved after trying out each solution. Some of these will need admin permission.
1. Run Printer Troubleshooter
Using the printer troubleshooter is an excellent way to resolve the printer configuration problem 0x80070077 on Windows. The Printer Troubleshooter assesses the situation and checks if any strategies are applicable. After the identification of the problem, the troubleshooter recommends a solution.
Open Run Prompt using Win + RType ms-settings:troubleshoot and press Enter to open Troubleshoot settingsGo to Other troubleshooter and choose the Printer from the list.Select the Run button beside the Printer.You will be prompted to select the printer which has the issue.Post this, the troubleshooter will check for a possible problem.Once done, either it can apply the changes automatically, or you need to click on Apply this fix only when Windows presents a solution for the problem.Close the tab. Check and see if the error has been resolved by restarting the computer.
2. Share Printer over Network
Another method you can use to resolve the 0x80070077 error is to ensure that the printer is shareable. Sometimes a shared printer is not found, and the only way to fix it is to reshare it over the network. It may even show the printer is available but it’s because of the network cache, the printer looks to be available for printing.
Open Windows Settings using Win + IGo to Bluetooth & Devices > Printer & ScannersClick on the Printer which is having issuesClick on Printer properties to open the advanced settings.In the Sharing tab, tick-mark the Share this Printer option.Add a name and select Apply and then OK.
Note: If the printer is already in shared mode, uncheck the box, apply the changes, and then reshare it again. Now, check if the error has been resolved by trying to print something.
3. Replace PrintConfig.dll File
PrintConfig stands for Print Configuration User Interface. The DLL is used to determine the settings used for printing, such as printer size, scale, range, and anything else the printer offers. A missing or corrupt DLL means the print will be interrupted.
Since we are replacing the DLL, we need to use another similar system on which this error does not happen. Once you are sure, keep a USB drive handy, and then follow the steps on a different PC:
Select Windows and R keys at the same to open the Run dialog box.Type spool and press Enter.Open the Drivers folder and search for the x64 folder.Here, look out for the DLL file. If you find difficulty locating the file, enter printconfig in the search box.Right-click on printconfig.dll and open its file locationCopy the file into a USB driveConnect the USB on the computer where you are facing the issueGo to the Printer Drivers again, Locate the x64 folder and paste printconfig.dil in the folder.
Restart the PC and observe if the error still occurs or not. Hopefully, this will solve the problem. The Printer Configuration Problem 0x80070077 on Windows is troublesome, especially when you are in an urgent need to print some documents. Take a look at the solutions listed here and apply them to see if the error is resolved. In case that doesn’t work, you must seek the counsel of a professional.
How to Update Printer Driver?
The best way to update the Printer Driver is to download it from the OEM website and install it. While Windows does offer it through Windows Update (Optional Updates), sometimes the process takes too long, and downloading it from the Printer website is a better method to move forward.
How to Fix Corrupt System Files?
While there are multiple ways to fix corrupt system files, the most straightforward way is to use the System File Checker. You can run the SFC /scannow command on elevated Windows Terminal or Command Prompt and let the program do its job. The command may reboot the system in console mode and then perform the check, especially for the system drive. The SFC tool will repair the corrupted or missing system files during the process. However, in some cases, that might not be possible. If the files are not corrupted, you will get the message – Windows Resource Protection did not find any integrity violations on the PC screen. Alternatively, you can also use the DISM tool to repair a corrupted system image. Even replacing the files manually is an excellent way to handle damaged or corrupted files.