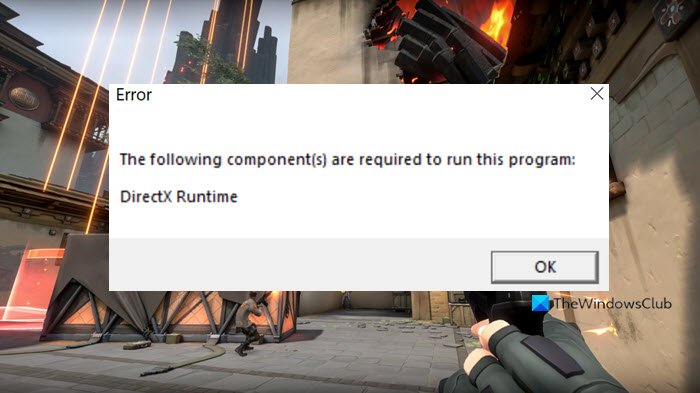
When you encounter this issue, you’ll receive the following full error message;
What does DirectX runtime mean?
Microsoft DirectX is a collection of application programming interfaces (APIs) for handling tasks related to multimedia, especially game programming and video, on Microsoft platforms. Originally, the runtimes were only installed by games or explicitly by the user.
Why do I keep getting a DirectX error?
PC users that keep getting a DirectX error on their Windows 11/10 PC, simply indicates a general DirectX failure. In cases like this, make sure you have the latest version of DirectX installed. Find out how to install the latest version of DirectX. For more information about DirectX, check out Microsoft’s guide for DirectX Graphics and Gaming.
VALORANT DirectX Runtime error
There are several reasons for this issue occurring in VALORANT – it is usually caused because of the outdated or corrupted graphics card driver, or an old version of DirectX on the PC. If you’re faced with this issue, you can try our recommended solutions below in no particular order and see if that helps to resolve the VALORANT DirectX Runtime error on your Windows 11/10 system. Let’s take a look at the description of the process involved concerning each of the listed solutions. Before you try the solutions below, check for updates and install any available bits on your Windows 11/10 device and see if the error reappears when you launch or play the game.
1] Update/Install DirectX
This solution requires you to simply download & install/update DirectX End-User Runtime on your Windows device and see if the VALORANT DirectX Runtime error is resolved. Otherwise, try the next solution.
2] Update graphics drivers
DirectX is related to your system graphics. So, you can either update your drivers manually via the Device Manager, or you can get the driver updates on the Optional Updates section under Windows Update. You may also download the latest version of the driver from the video card hardware manufacturer’s website. You can also update your graphics card via the NVIDIA Control Panel. Here’s how:
Right-click on the Windows desktop and select NVIDIA Control Panel.Navigate to the Help menu and select Updates.Uncheck the Automatically check for updates checkbox.Select your desired time period in the drop-down menu.Uncheck the Notify me when graphics driver updates are available checkbox.Check the Include beta updates checkbox.Check the Game and Program Profiles checkbox.
Alternatively, you can update your graphics card via NVIDIA GeForce Experience. Here’s how:
Search for NVIDIA GeForce Experience in the Start menu.Click on the first result.Click on Drivers.Click on Check for Updates or Update.Wait for the download to complete and click on Install.Click on Next until the installation is complete.
For PC users that have AMD graphics cards installed, you can use AMD Driver Auto-detect tool to update your graphics card drivers. Here’s how:
Download the AMD Driver Auto-detect tool.Once the download is complete, run the file from the save location.When prompted, click Install to begin the setup process.Click Next until the update completes for your graphics driver.Restart your PC.Launch VALORANT.
The issue should be resolved now. If not, try the next solution.
3] Uninstall Riot Vanguard Anti-Cheat
To uninstall Riot Vanguard Anti-Cheat from your Windows 11/10 PC, do the following:
Click on the Windows Start Menu.Search Add or Remove Programs.Open the first result.In the new menu, search for Riot Vanguard.Click on the Riot Vanguard icon and click Uninstall.Confirm the uninstallation.
Riot Vanguard will be automatically reinstalled when you next launch VALORANT – and the issue in view should be resolved. Else, proceed with the next solution.
4] Uninstall/Reinstall VALORANT
If nothing has worked so far, you can uninstall VALORANT completely, and then download and reinstall VALORANT on your Windows 11/10 gaming PC.
5] Perform System Restore
As a last resort, you can perform System Restore to revert your computer to a working state prior to when you started receiving the DirectX Runtime error. To perform System Restore on your Windows PC, do the following:
Press Windows key + R to invoke the Run dialog.In the Run dialog box, type rstrui and hit Enter to open up the System Restore Wizard.Once you arrive at the initial screen of System Restore, click Next to advance to the next window.At the next screen, start by checking the box associated with Show more restore points.After you’ve done this, select a point which has an older date than the one in which you first started to notice the error.Click Next to advance to the next menu.Click Finish and confirm at the final prompt.
At the next system startup, your older computer state will be enforced. Hope this helps!