How to create a 3D Picture Cube in PowerPoint
Open PowerPoint.
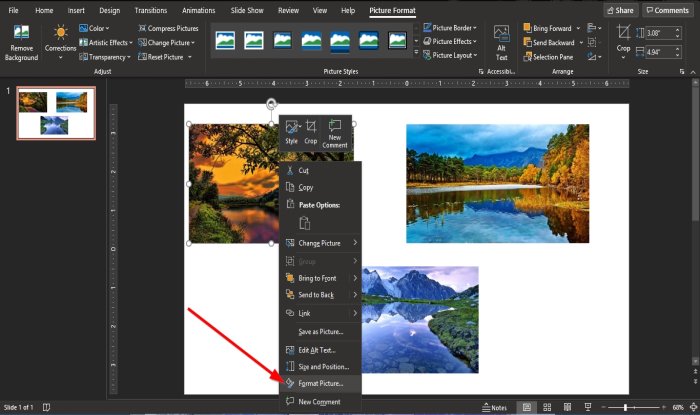
On the PowerPoint slide, insert three pictures from your files. Then right-click on any of the pictures. In the drop-down list, select Format Picture.
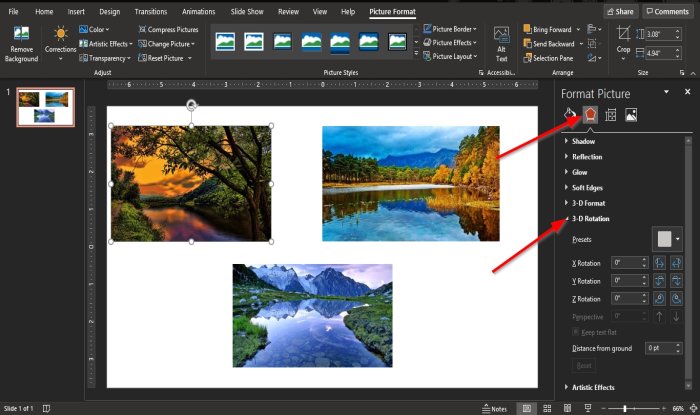
A Format Picture pane will appear on the right. Inside the Format Picture pane, click the Effects icon on top of the pane. On the Effects page, click 3-D Rotation. The 3-D Rotation is a feature offered in Office to rotate objects or pictures into different positions. In the 3-D Rotation list, we are going to apply a Preset.
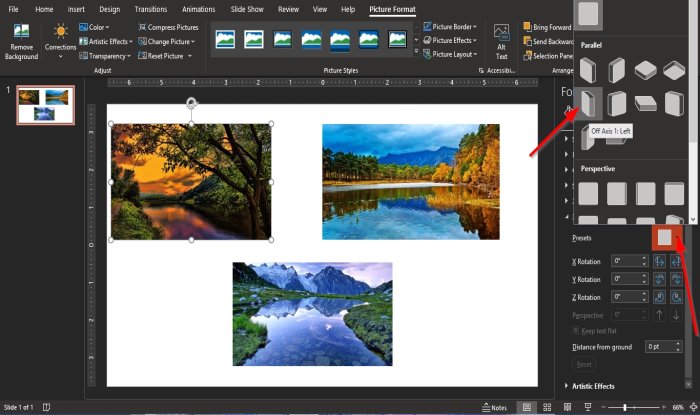
In the Preset section, click the Presets icon drop-down arrow on the right and select Off-Axis 1: Left in the Parallel group in the list. Once you click on the Off-Axis 1: Left, the picture will automatically be oriented in that way.
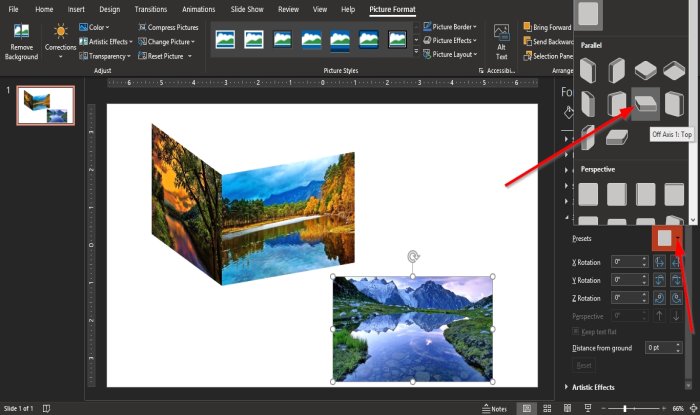
Click on the second picture, then go to the Format Picture pane; in the Preset section, click the Presets icon drop-down arrow on the right and select Off-Axis 1: Right in the Parallel group in the list. The picture in the slide will turn to the Preset selected. Place the first picture and the second picture together, according to their positions.
Then click the third picture. In the Format Picture pane in the Preset section, click the drop-down arrow, and select Off-Axis 1: Top. After the Off-Axis 1: Top Preset is selected, place the third picture on the top of the cube.
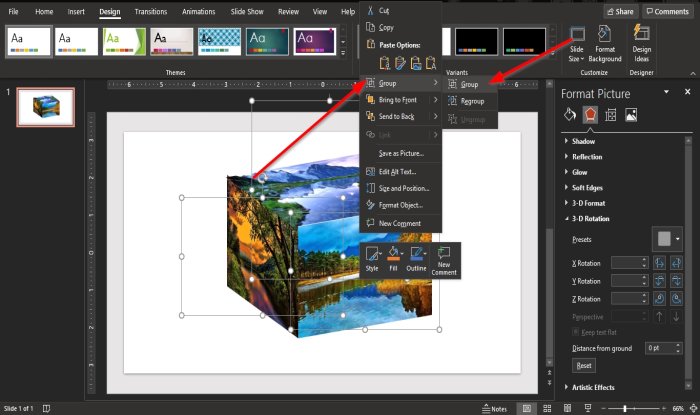
Now we will group them press Ctrl + Shift on your keyboard to select all the pictures. Then right-click, and in the drop-down list, select Group then clicks Group. All Pictures will be grouped as one.
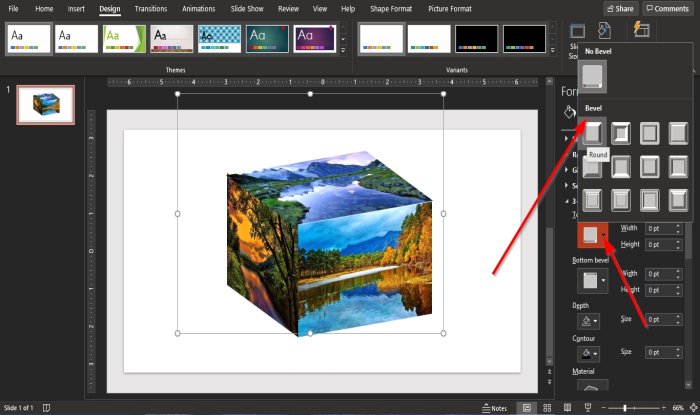
Then go to the Format Picture pane and click 3-D Format. In the Top Bevel section, click the Preset and select Round. You will notice that the top of the cube has a Round effect.
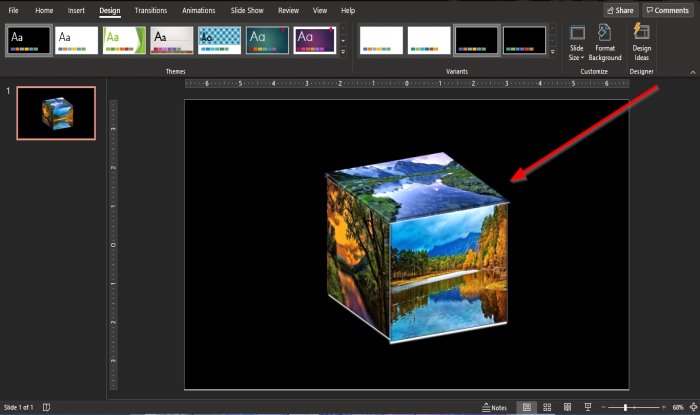
Now we have a picture cube. We hope this tutorial helps you understand how to create a Picture Cube in PowerPoint. If you have questions about the tutorial, let us know in the comments. Read next: How to create and use Progress Bar in PowerPoint.
