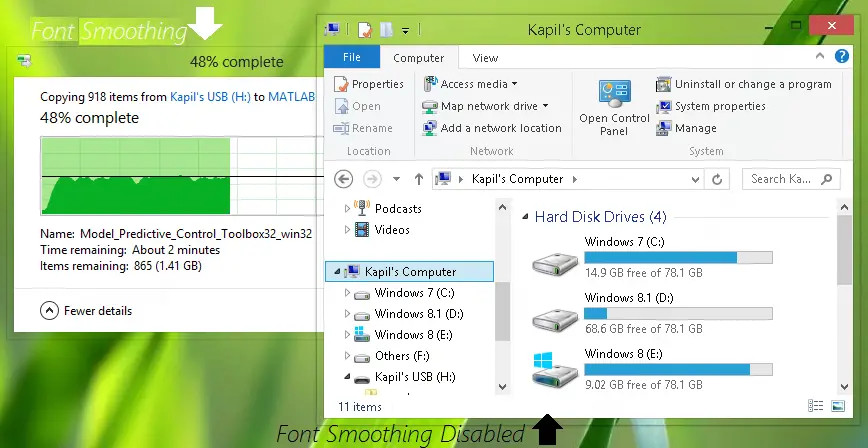
However, there are some folks who are not satisfied with this stylish look of fonts. So they may want to remove all the font smoothing and anti-aliasing. Here are the two scenarios – the first window with font smoothing, and the second without font smoothing.
Disable Font Smoothing in Windows 11/10
Here is how to disable font smoothing completely in Windows 11/10/8/7
On the start screen search box, type ClearType or cttune.exe and hit Enter to open the ClearType Text Tuner. Uncheck Turn on ClearType.
Control Panel > Performance Options Visual Effects. Uncheck Smooth edges of screen fonts.
Press Windows Key + R combination, type put Regedt32.exe in the Run dialog box and hit Enter to open the Registry Editor. Navigate to the following location:
In the right pane of this location, look for the FontSmoothing named string (REG_SZ). In order to remove font smoothing, delete this string using right-click over it and select Delete. Then, double-click the DWORD FontSmoothingType to modify:
In the above-shown window, just change the Value data to 1 from 2. Click OK. You may close the Registry Editor and reboot to get the results.
Use freeware tool Clear Type Switch
The Options for text anti-aliasing (Smooth edges of screen fonts) and ClearType are located in different locations, in Windows. This tool lets you configure your options easily from one place.
You can enable or disable smooth edges for screen fonts and/or enable or disable the use of ClearType. I hope you find the tip useful! Check this post if your desktop applications & fonts appear blurred in Windows 11/10.

