In this article, we’ll tell you how you can enable or disable the picture password sign-in function. In fact, the picture password sign-in is enabled by default, so in case you want to disable it, this article will help you to do that.
Disable Picture Password Sign-In option in Windows 11/10
Press the Windows Key + R simultaneously and put regedit in Run dialog box.
Navigate to the following location:
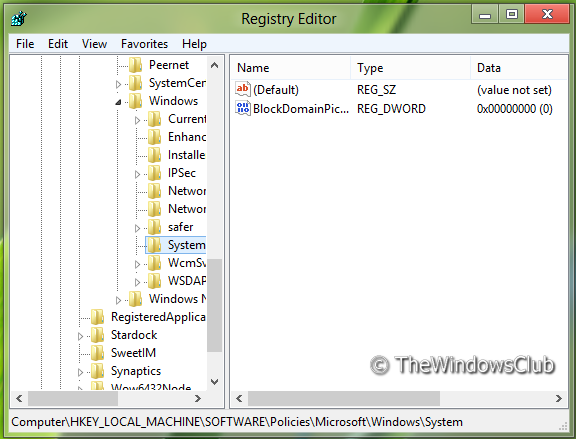
Now right-click in right pane of the window. Create a DWORD value and name it “BlockDomainPicturePassword“.
Right-click on above created DWORD value, select Modify. You will got this window:
Now you can use following values for Value data section:
Enable Picture Password Sign-In = 0 (Default Setting)Disable Picture Password Sign-n = 1
- That’s it. Reboot to see the results.
Turn Off Picture Password Sign-In using Group Policy Editor
Press Windows Key + R combination and put gpedit.msc in Run dialog box.
In the left pane navigate to: Computer Configuration -> Administrative Templates -> System -> Logon.
Now look in the right pane, you’ll get the policy named Turn off picture password sign-in as shown above.
Double click on this policy to get the window shown below.
Now you can use the following settings:
Enable Picture Password Sign-In = Disabled/Not configured (Default Setting)Disable Picture Password Sign-In = Enable
After making changes click Apply followed by OK. That’s it. Reboot to see the results.