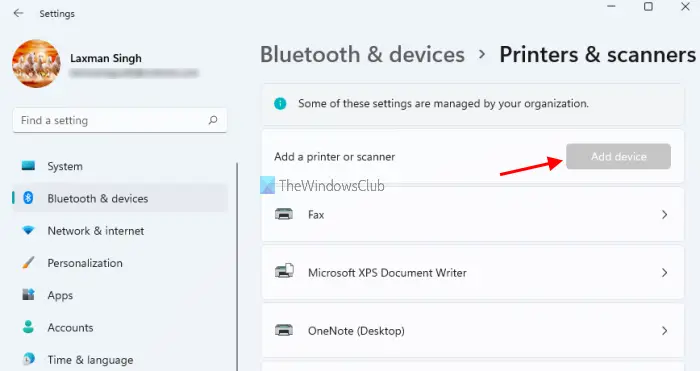
Apart from that, the Add a printer option available in the Devices and Printers section also won’t work. When you will click on that Add a printer option, you will see the following message:
Prevent addition of printers in Windows 11
To prevent adding a local printer and network printer in Windows 11, here are the two options: Before trying any of these options, creating a system restore point is recommended. Now let’s start with the Group Policy method.
1] Using Group Policy Editor
The steps are as follows: Now let’s see these steps in detail. Type gpedit in Windows 11 Search box and use Enter key to open the Group Policy Editor window. After this, go to the Printers folder. Here is the path to access that folder: User Configuration > Administrative Templates > Control Panel > Printers
After accessing the Printers folder, double-click on Prevent addition of printers setting available on the right section. That setting will open in another window. In that window, select the Enabled option. Finally, press Apply and OK buttons to save the new setting.
Now users won’t be able to add a network or local printer using the familiar methods. You can continue using the already installed or added printers. Only the new printers won’t add. To enable the options for adding printers to your Windows 11 computer again, you can follow the above steps, and then select the Not Configured option for Prevent addition of printers setting. After that, use Apply and OK buttons, and the changes will be saved.
2] Using Registry Editor
The steps to disable adding the printers using the Registry Editor method are: In the very first step, type regedit in the Windows 11 Search box, and use Enter key to open the Registry Editor window. When Registry Editor is opened, access the Explorer Registry key. Here is its path:
On the right-hand section of the Explorer key, create a NoAddPrinter DWORD value. To create it, right-click on the right-section, open the New menu, and click on DWORD (32-bit) Value. After creating this new DWORD value, rename it with NoAddPrinter.
Now you need to set its Value data to 1. For this, double-click on the NoAddPrinter DWORD value. This will open a small box. There is a Value data field. Put 1 there and press the OK button.
Finally, just restart File Explorer to save the changes. And, when you want to enable the option to add a printer to your Windows 11 computer again, you can follow the above steps to access the Explorer key. After that, delete the NoAddPrinter DWORD value. Restart File Explorer and the previous changes will be reversed.
How do I disable Printers in Windows 11/10?
If you are looking for some options to disable adding the local and network printers in Windows 11/10 computer, then Registry Editor and Group Policy Editor features of Windows 11/10 can help you do that. In both the features, you need to do a few tweaks, and then adding a printer feature will not work in the Settings app and Devices and Printers section. The steps to use the Group Policy Editor method and Registry Editor method for the same are already covered in this post above.
How do I stop Windows 11/10 from changing my default printer?
By default, Windows automatically set that printer to the default printer which you have used most recently at your current location. Therefore, Windows keep changing the default printer based on the printer used by you most recently. This happens because the option to manage the default printer by Windows is turned on. Thankfully, there is a way in Windows 11 as well as Windows 10 to turn off that option. In Windows 11, you can stop Windows from changing your default printer using these steps: For Windows 10, follow these steps: Hope this helps.