How to type Text over a Line in Word
Open Microsoft Word. Draw a line in your document. The first technique we will use is to write on the line; notice, when you are typing on the line the text, is not staying on the line, and the line keeps on moving.
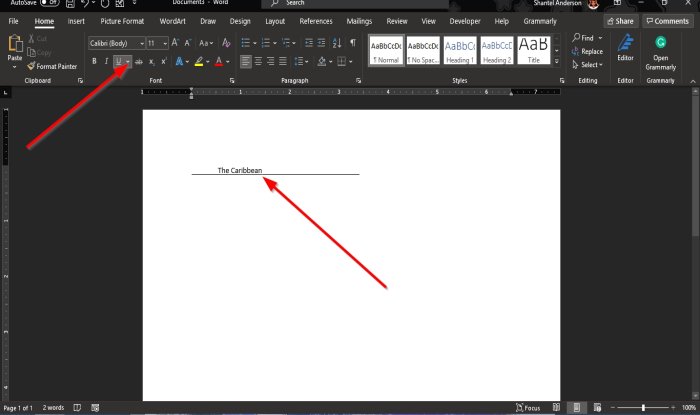
Highlight the text and click the Underline button on the Home tab in the Font group, and you will notice that the text will be on the line.
The second technique is to click the Insert tab and click the Text box button in the Text group. In the drop-down list, select Draw Text Box. A text box will appear in the document. Move the text box over the line; ensure that the bottom of the text box matches the line. We do not want the text box to have an outline; we will click the Shape Format tab. The Shape Format tab appears whenever the shape is selected, including the text box.
On the Shape Format tab in the Shape Styles group, click the Shape Outline button, and in the drop-down list, select No Outline. Notice that the text box lines become invisible.
Then click the Shape Fill button, and in the drop-down list, click No Fill. Drag the text box closer to the line.
Now, we have the text on the line.
We hope this tutorial helps you understand how to type over lines in Microsoft Word. Read next: How to add Citations & References in Word.
